Viewing Fonts
This chapter explains how to view font lists, aliases, and sample text, and also explains how to delete fonts. It describes how:
To view a list of fonts
To view sample text
To view font attributes
To view font aliases
To find fonts
To delete fonts
To View a List of Fonts
You can view a list of fonts for local OpenWindows installations or for NeWSprint printers.
For the Local Host
To view a list of fonts installed on the local host:
On the main window, find the label ``Currently Installed Fonts For:.''
Click the radio button next to the local host name.
The main window (Figure 1-1) displays the list of currently installed fonts. For a description of the main window, see "Font Administrator Main Window".
For a NeWSprint Printer
To view a list of fonts installed on a NeWSprint printer on the local print server:
On the main window, find the label ``Currently Installed Fonts For:.''
Click the radio button next to NeWSprint Printer.
Use the NeWSprint Printer option menu to select the printer for which you want to manage fonts.
The main window (Figure 1-1) displays the list of currently installed fonts. For a description of the main window, see "Font Administrator Main Window".
Note - You must run Font Administrator as the root user to be able to view and manage printer fonts.
To View Sample Text
You can type in sample text to view for this session only, or you can set the default sample text.
For This Session Only
To see what a word or phrase looks like using the selected font, type the word or phrase in the sample text display area of the main window or Install dialog.
For a picture and description of the main window, see "Font Administrator Main Window". For a picture and description of the Install dialog, see "To Install Fonts".
Setting the Default Sample Text
The default sample text is automatically displayed when you select a font in the main window or the Install dialog. For a picture and description of the main window, see "Font Administrator Main Window". For a picture and description of the Install dialog, see "To Install Fonts".
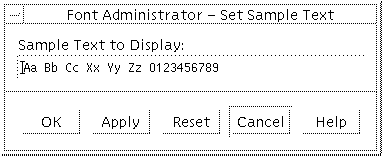
To set the default sample text:
Select Set Sample Text from the Options menu.
Figure 2-1 Set Sample Text Dialog

On the Set Sample Text dialog, click in the text box and type the desired text.
Click OK or Apply to save the sample text setting.
Note - Because the default sample text is a user preference stored in the user's home directory, it cannot be set for the root user which has no home directory. The root user can type in the sample text display area to view other sample text.
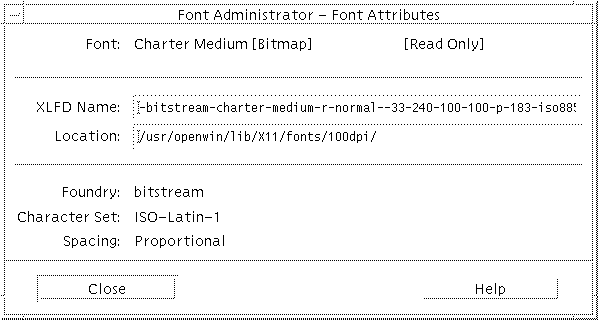
To View Font Attributes
On the main window, click the font name for which you want to view attributes.
Click Attributes.
Figure 2-2 Font Attributes Dialog

The Font Attributes dialog displays the following information for the selected font:
| Font | The common name of the font. |
| XLFD Name | The X logical font descriptor. |
| Location | The file system location of the font. |
| Foundry | The maker of the font. |
| Character Set | The character set used by this font. |
| Spacing | Indicates whether the font is monospaced or proportionally spaced. |
Note - The Font Attributes dialog stays up until you click Close, displaying attributes in turn for each font you select. To view attributes for additional fonts, simply click the fonts one at a time in the list on the main window.
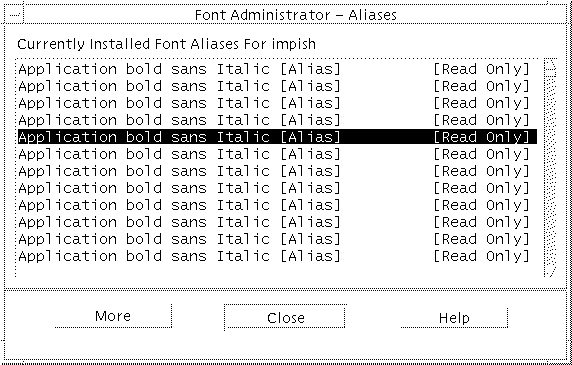
To View Font Aliases
To view font aliases, choose Aliases from the Fonts menu.
Figure 2-3 Aliases Dialog

The Aliases dialog lists the currently installed aliases. To view attributes for an alias, select the alias and click More. To hide alias attributes, click Less.


